Creating new dashboards
Creating new dashboards
To create a new dashboard, select Add ► Create new dashboard from the main menu.

A guided wizard asks you to pick and authorize your tool.
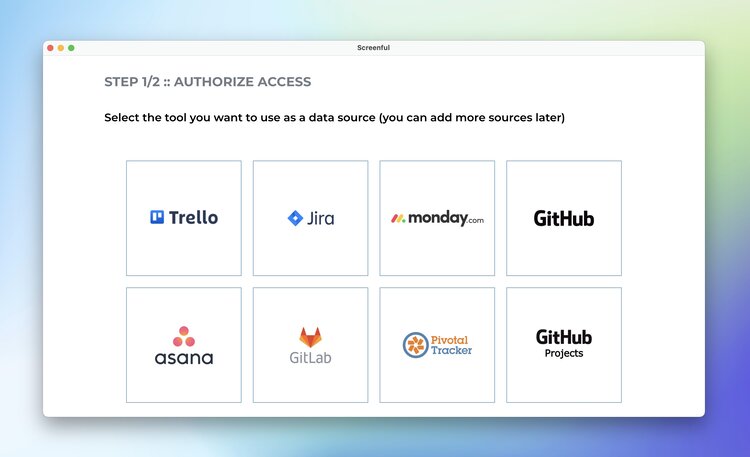
Once done, you can select one or more boards from your chosen tool as data sources for your dashboards. Notice that there will be a dedicated dashboard generated for each board you select.

Once you’ve selected the boards, you’ll be shown the workflow mapping tool which allows you to specify your workflow.

Drag your workflow states to Not started, In Progress, and Done and click Next.
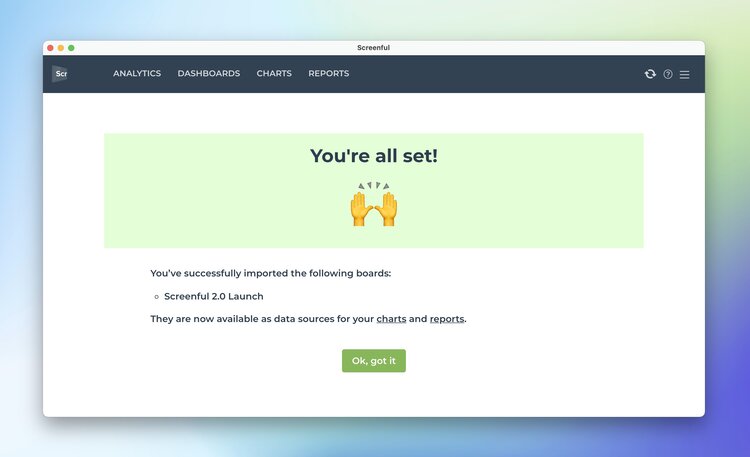
That’s it. Your new dashboard is created with three months of data history, and it's available in the Dashboards tab.
To create a new dashboard, select Add ► Create new dashboard from the main menu.
A guided wizard asks you to pick and authorize your tool.
Once done, you can select one or more boards from your chosen tool as data sources for your dashboards. Notice that there will be a dedicated dashboard generated for each board you select.
Once you’ve selected the boards, you’ll be shown the workflow mapping tool which allows you to specify your workflow.
Drag your workflow states to Not started, In Progress, and Done and click Next.
That’s it. Your new dashboard is created with three months of data history, and it's available in the Dashboards tab.