Contact our support to get started
The first step is to contact our customer support and tell us the domain(s) you want to connect. Just send an email to support@screenful.com or use the in-app live chat. Our staff will enable SSO for your account and let you know when to proceed with the configuration.
Once your account has SSO enabled, navigate to the Account settings tab and click on the Configure SSO link.
A setup guide tailored to your identity provider will take you through all the steps needed to configure the SSO connection.

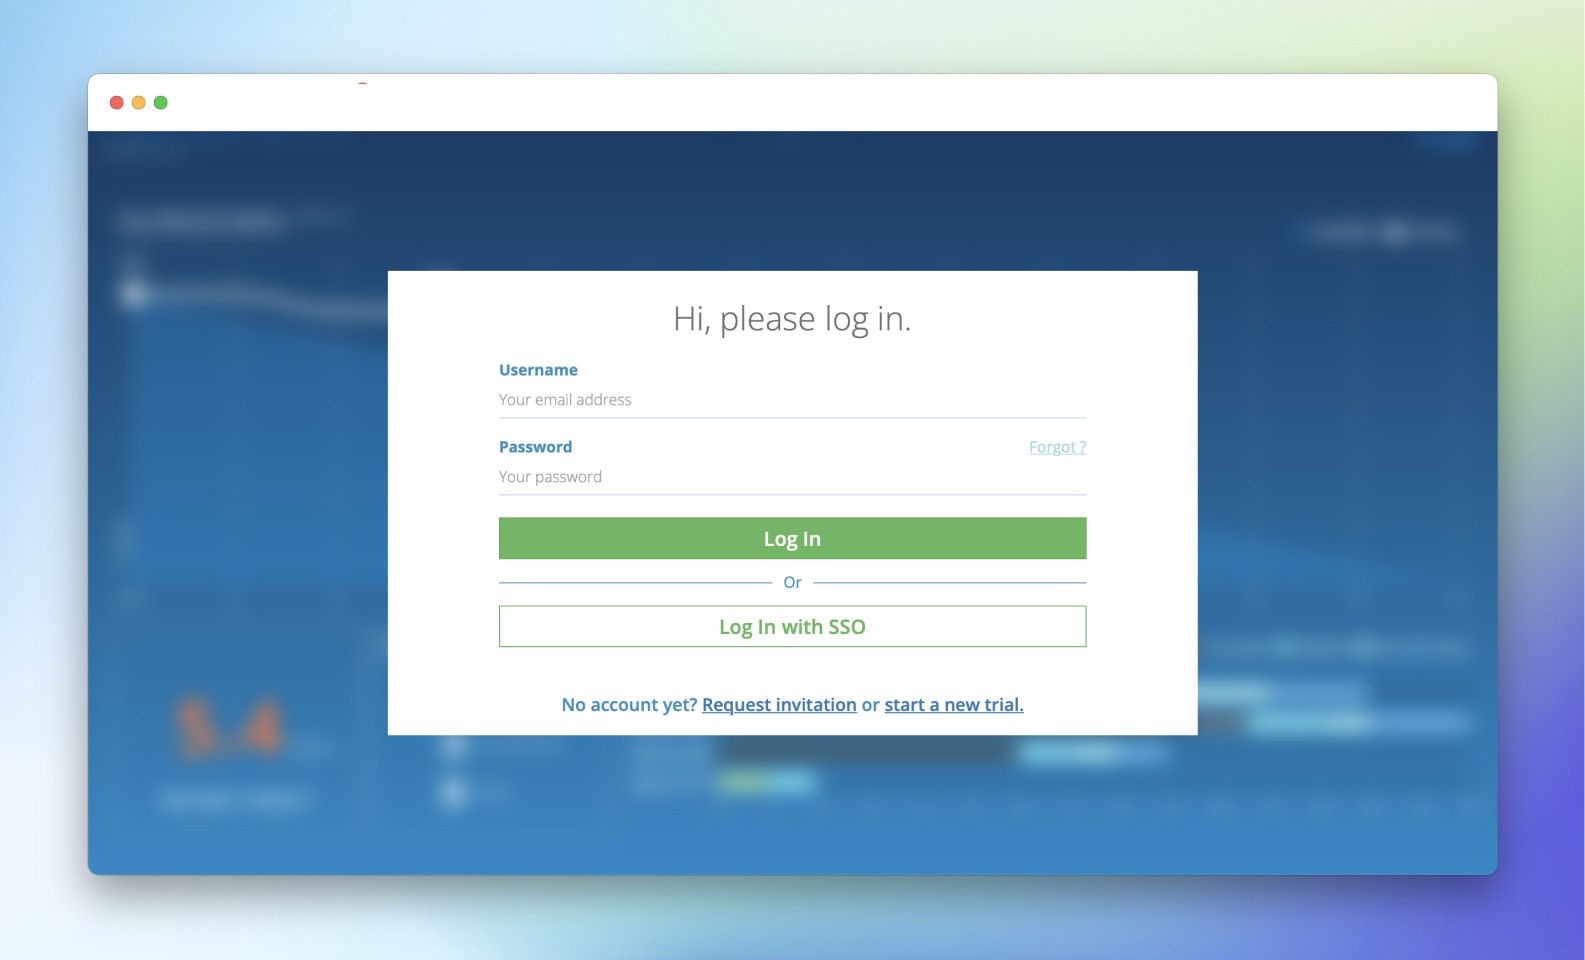
Log in using your identity provider
Now you and your team can log in with SSO!
Provisioning new users
You can select which users have access to Screenful using your identity provider system.
Screenful supports Just-In-Time (JIT) provisioning. When a user logs in via SSO for the first time a Screenful identity is created for them with "member" level priviliges. So new users don’t need to be invited as they can just log in!
Users whose Screenful identity was created via JIT provisioning don't have the possibility to login using a password. Users whose identity was created via a sign-up or an invite keep this possibility even after SSO is enabled. Our staff can, however, update the capabilities manually. Just let us know if you need help.
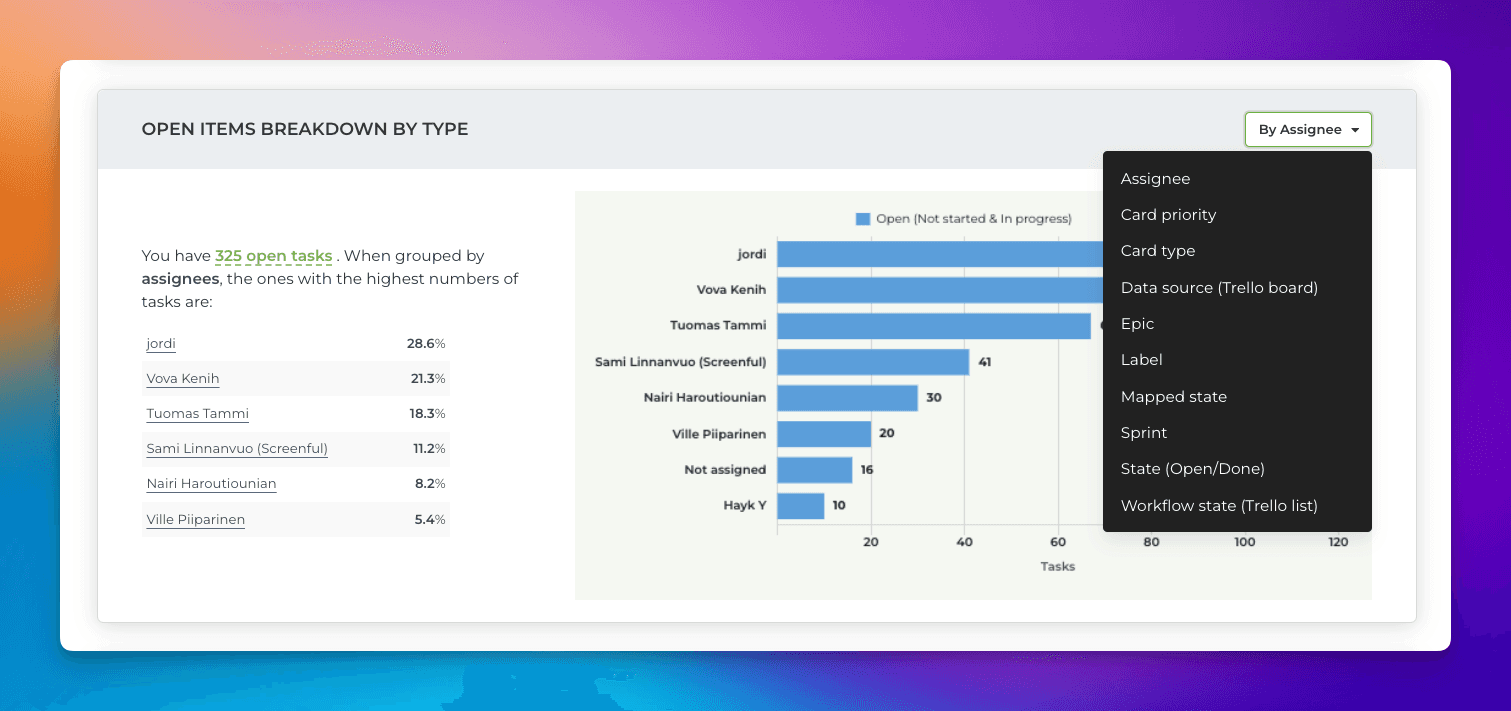
Adjust the charts with quick menus
Some of the charts display grouped data. You can change the grouping by selecting a property from the Group by menu:
If a chart displays time-based data, you can adjust the date range:
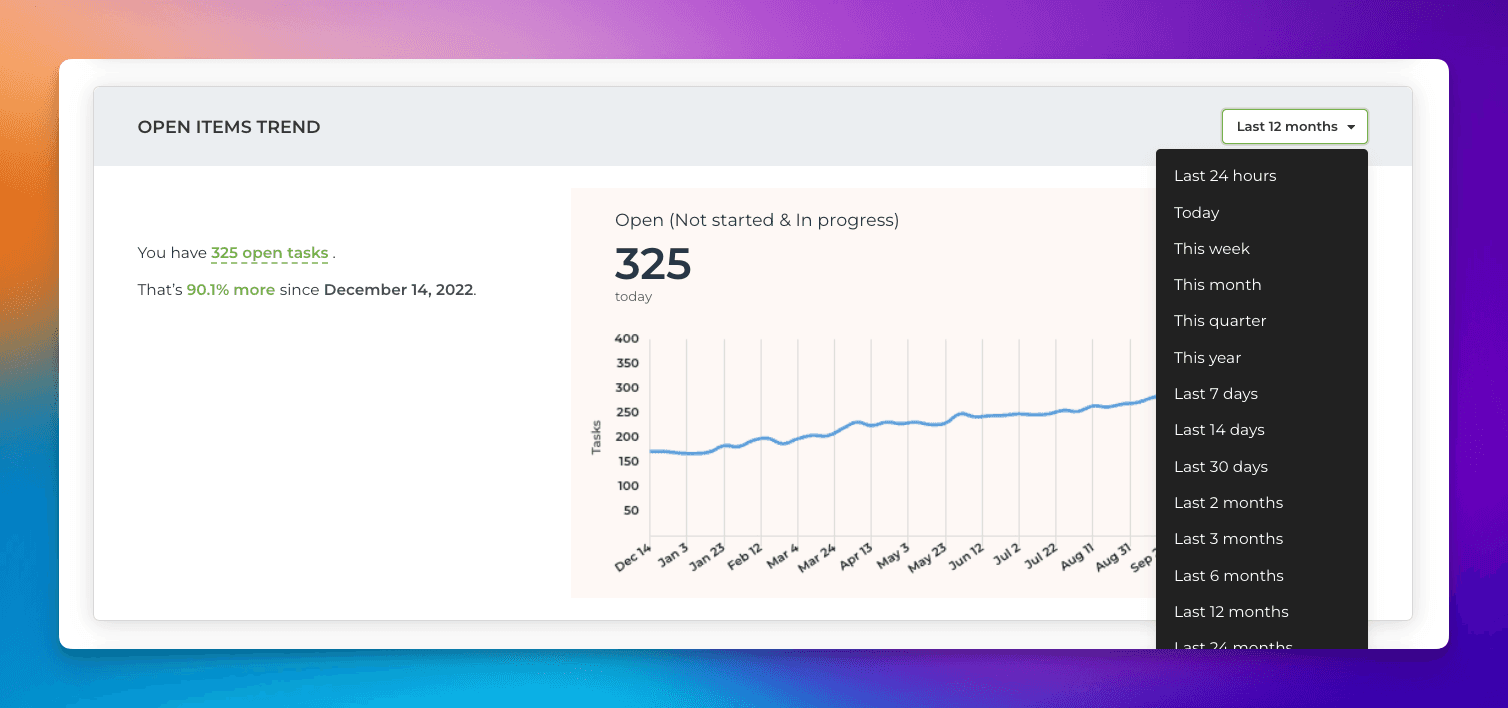
Notice that the length of the available history depends on the plan. For trial accounts, it is six months.