Contact our support to get started
The first step is to contact our customer support and tell us the domain(s) you want to connect. Just send an email to support@screenful.com or use the in-app live chat. Our staff will enable SSO for your account and let you know when to proceed with the configuration.
Once your account has SSO enabled, navigate to the Account settings tab and click on the Configure SSO link.
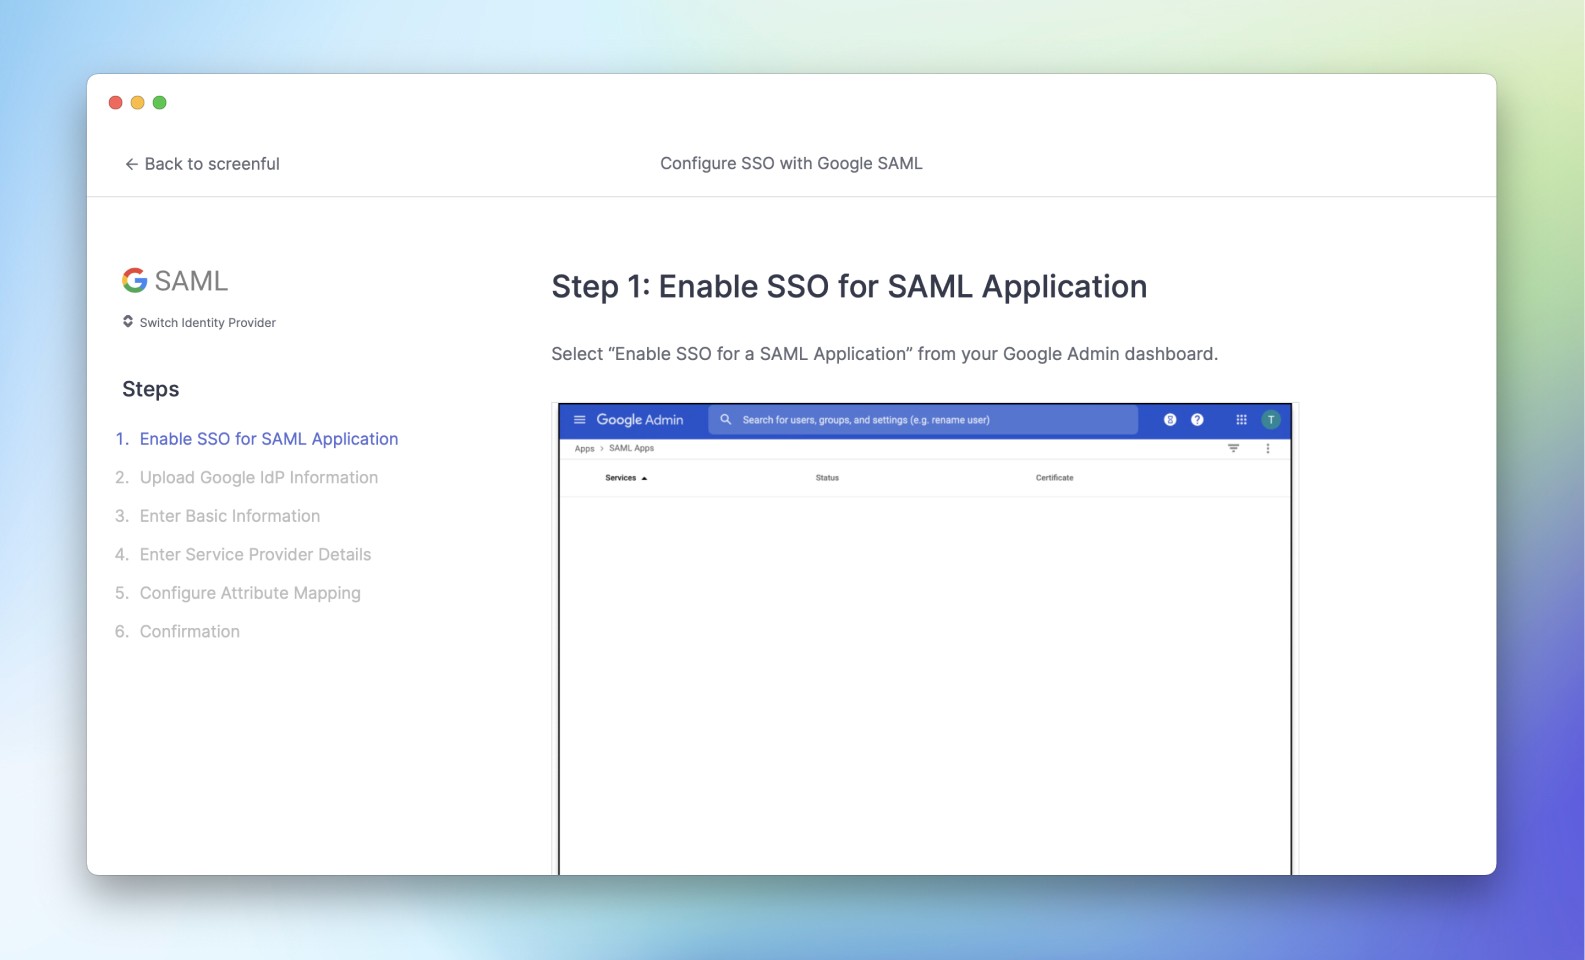
A setup guide tailored to your identity provider will take you through all the steps needed to configure the SSO connection.

Follow the setup guide
Select your identity provider.
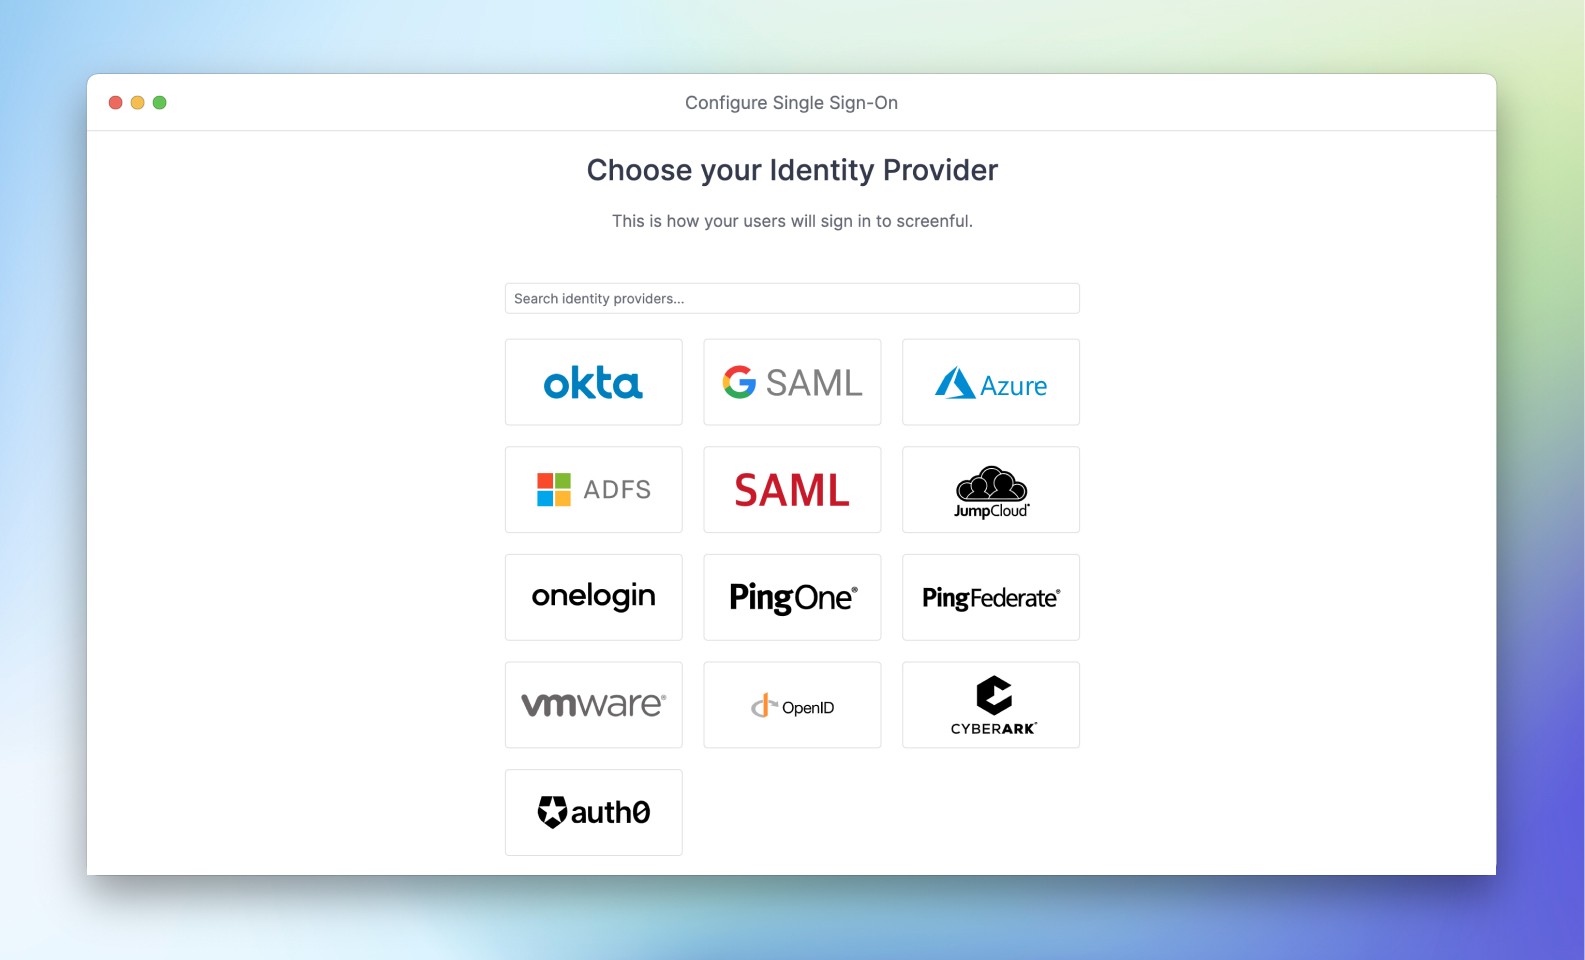
Once you’ve selected the SSO provider of your choice, the next steps allow you to configure the SSO connection. The exact depends on the selected provider but there will be a user-friendly guide to help you through the process.
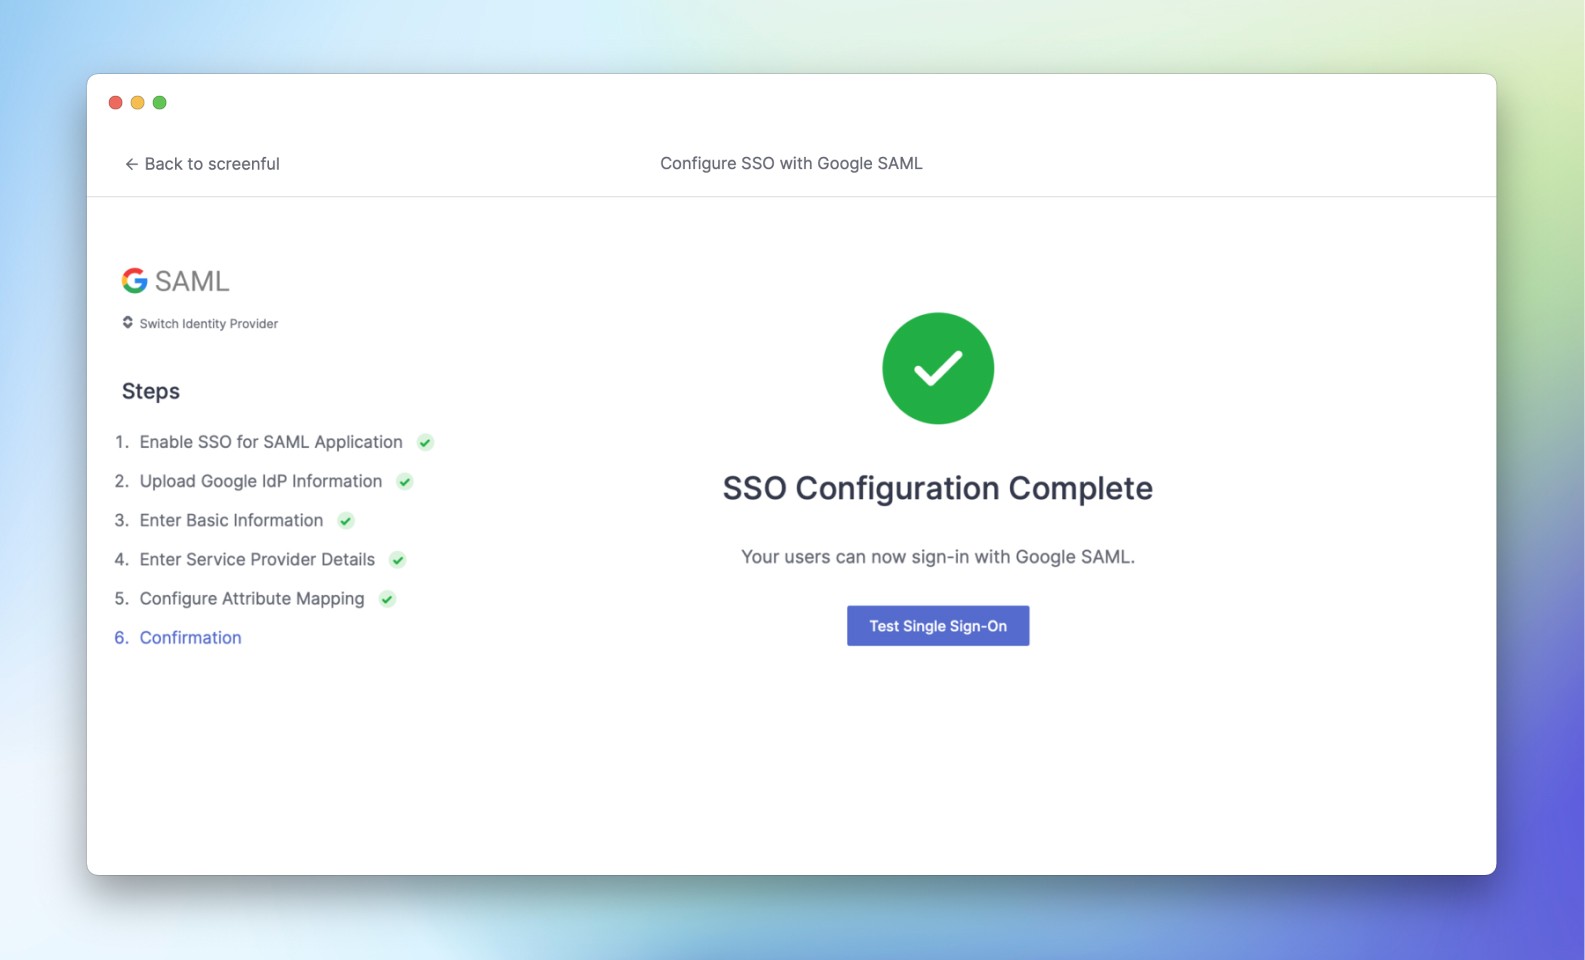
On the last step, you’ll be able to verify that your SSO connection works and is ready to be used for logging in to your Screenful account.
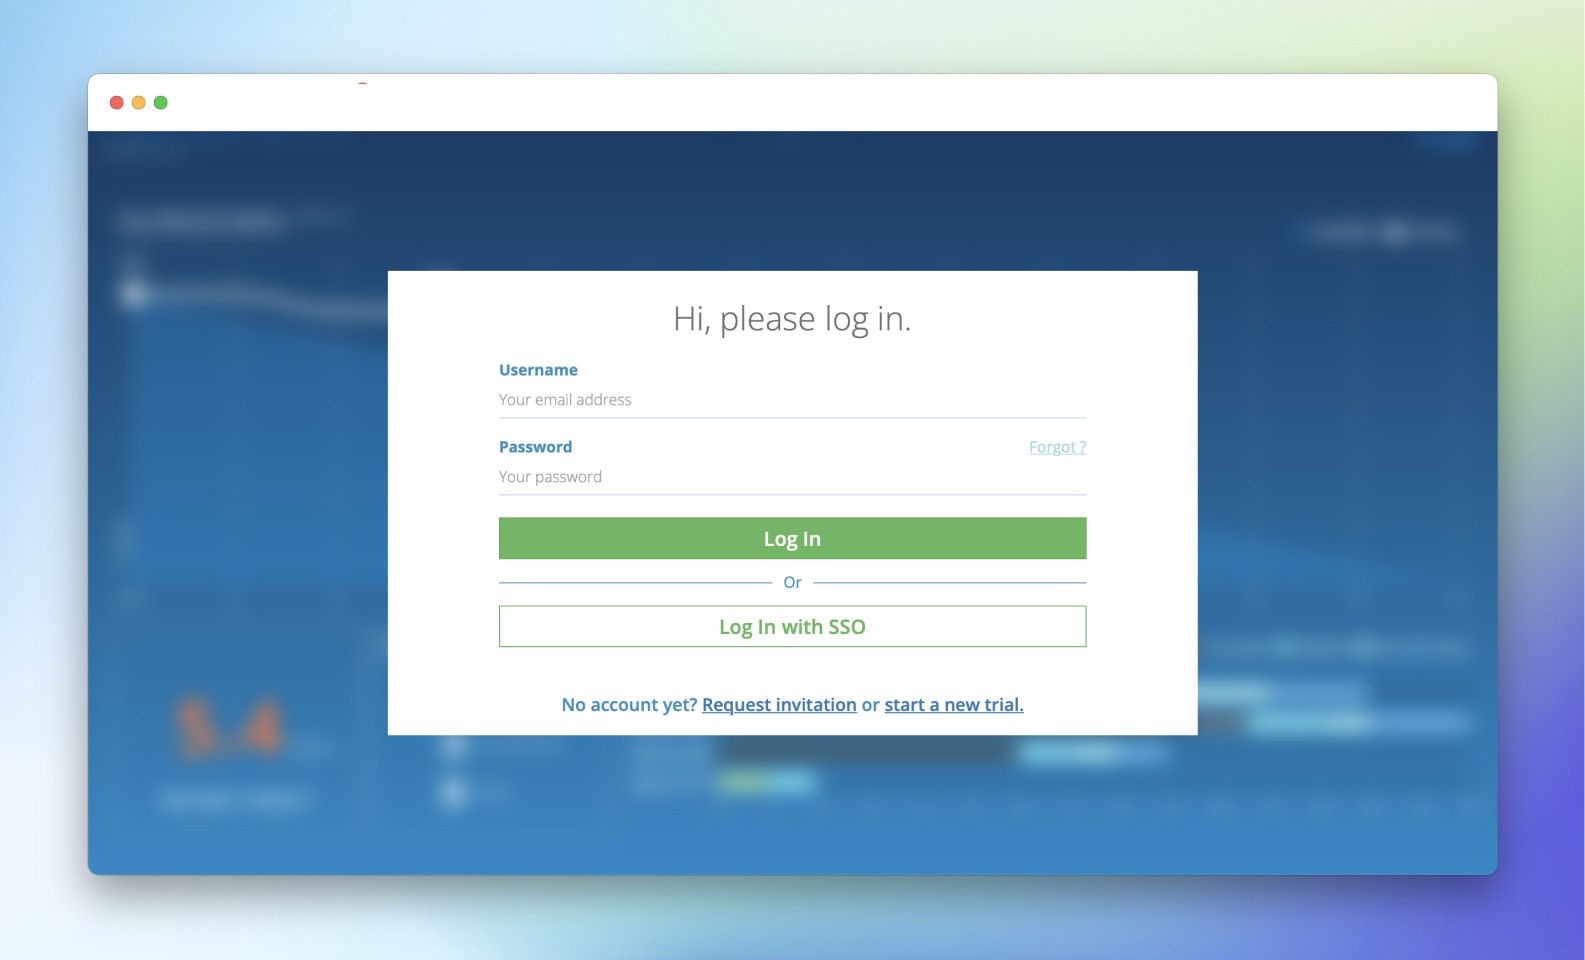
Log in using your identity provider
Now you and your team can log in with SSO!
Provisioning new users
You can select which users have access to Screenful using your identity provider system.
Screenful supports Just-In-Time (JIT) provisioning. When a user logs in via SSO for the first time a Screenful identity is created for them with "member" level priviliges. So new users don’t need to be invited as they can just log in!
Users whose Screenful identity was created via JIT provisioning don't have the possibility to login using a password. Users whose identity was created via a sign-up or an invite keep this possibility even after SSO is enabled. Our staff can, however, update the capabilities manually. Just let us know if you need help.
How to enforce SSO to all users?
If an account contains existing non-SSO users, they must be manually converted to SSO users (via Screenful support).
There should be at least one admin account that is not SSO enforced so that this person can log in to the SSO management console via the Screenful account settings.
Users who don't yet have a Screenful account will be automatically provisioned when they log in with SSO. For them, SSO is always enforced.
Users who are invited with the Screenful invite feature do not have SSO enforced
Users that have SSO enforced cannot send invites and bypass SSO that way