In addition to viewing a report or downloading it as PDF, reports can be shared via email and Slack on a custom schedule, or with a share link.
Sending a sample report
Before you schedule a report to be sent automatically at the set schedule, you may want to send a sample report to selected recipients for review. To trigger one-time sending, click the three dots next to any of the reports in the list and select Schedule from the menu.

The scheduling view is opened, allowing you to select the recipients from the list (you can add more users by inviting them first).

Once you click Send to selected users, the report is immediately sent via email to the selected users.
Scheduling a report to be sent via email
To schedule a report, click the three dots next to any of the reports in the list and select Schedule from the menu.
The scheduling view is opened, which allows you to select the frequency (daily/weekly/monthly), and the time of day when the report will be sent.

Once the schedule is saved, the report will be emailed to the selected recipients according to the set schedule. The message contains a link to the live report online, and the PDF export as an attachment.
When you click the attachment, the report is shown:

Once a report is scheduled, it is saved in the archive so you can review any previous state of your project. You can access the archive by selecting View previous reports from the same three-dot menu.
Scheduling a report to be sent to Slack
You can schedule any of your reports to be sent to a chosen Slack channel. To get started, follow the instructions in this guide to set up the Slack integration.
Reports can be scheduled to be sent to Slack in the same Schedule report page, which allows setting the schedule for the report. You can access this page by selecting Schedule from the report context menu.
On the report schedule page, you can select the Slack channel to send the report to:

Once you click Save changes, the report will be sent to the selected Slack channel at the scheduled frequency. Here’s the report in Slack.

The message contains a link to the live report online and the PDF export. When you click the PDF preview, the report is opened within the Slack UI.

Sharing reports with a share link
In addition to sharing via email or by sending to Slack, you can also share reports with a link.
To get a link, go to the Reports tab and locate the report that you want to share a link to. The share feature can be found in the report context menu.
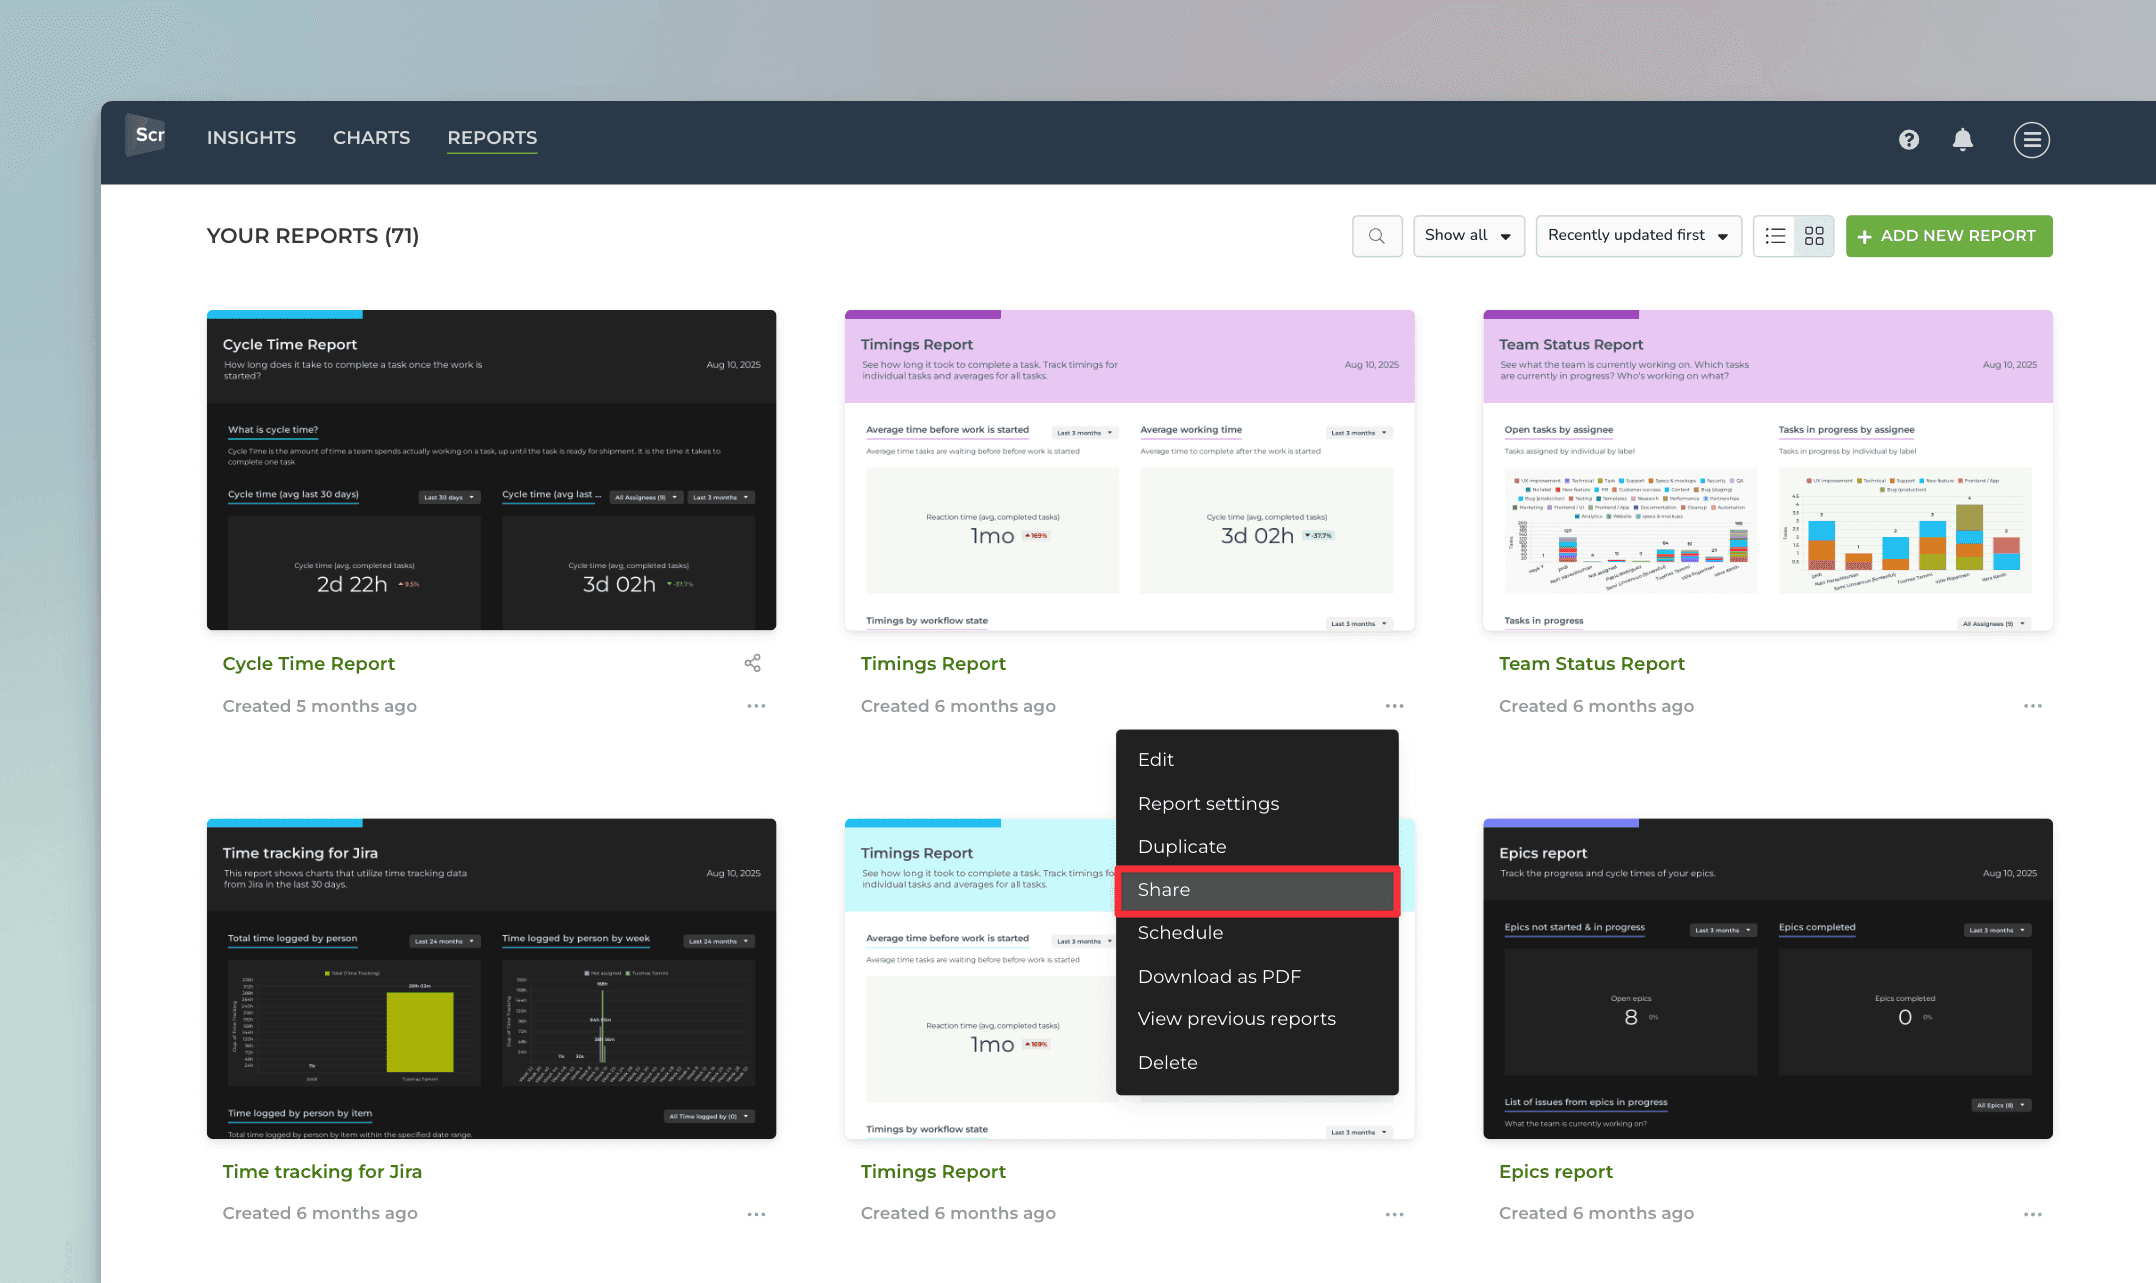
When you select Share, a modal shown and the share link is copied to the clipboard. You can send the link and the recipient can view the report by following the link.
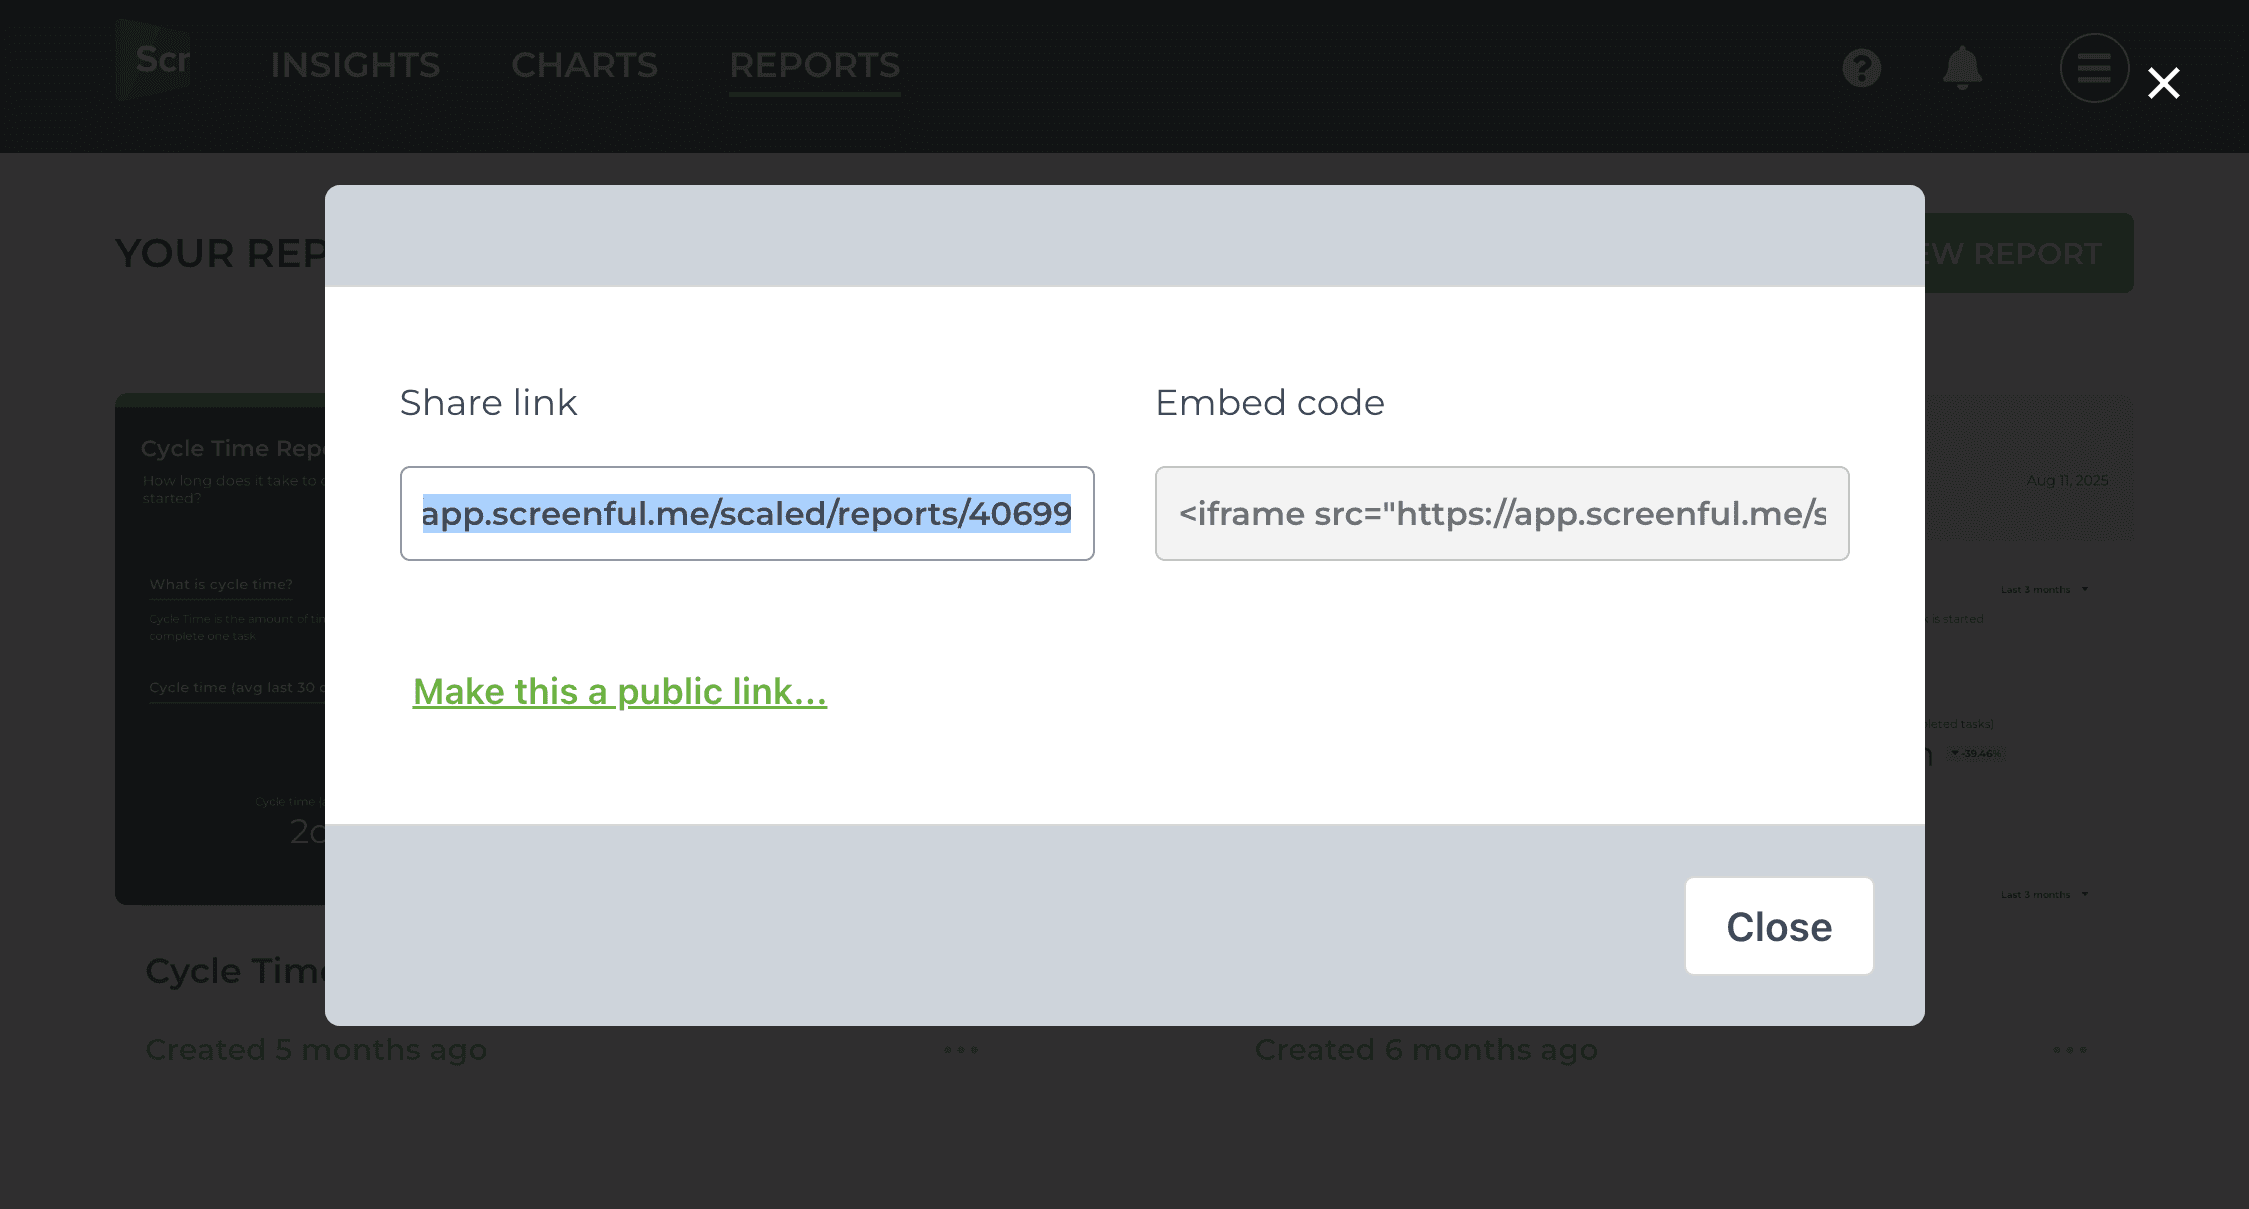
If you want to share the report with someone who doesn’t have a Screenful account, you can reveal more options by clicking the Make this a public link.
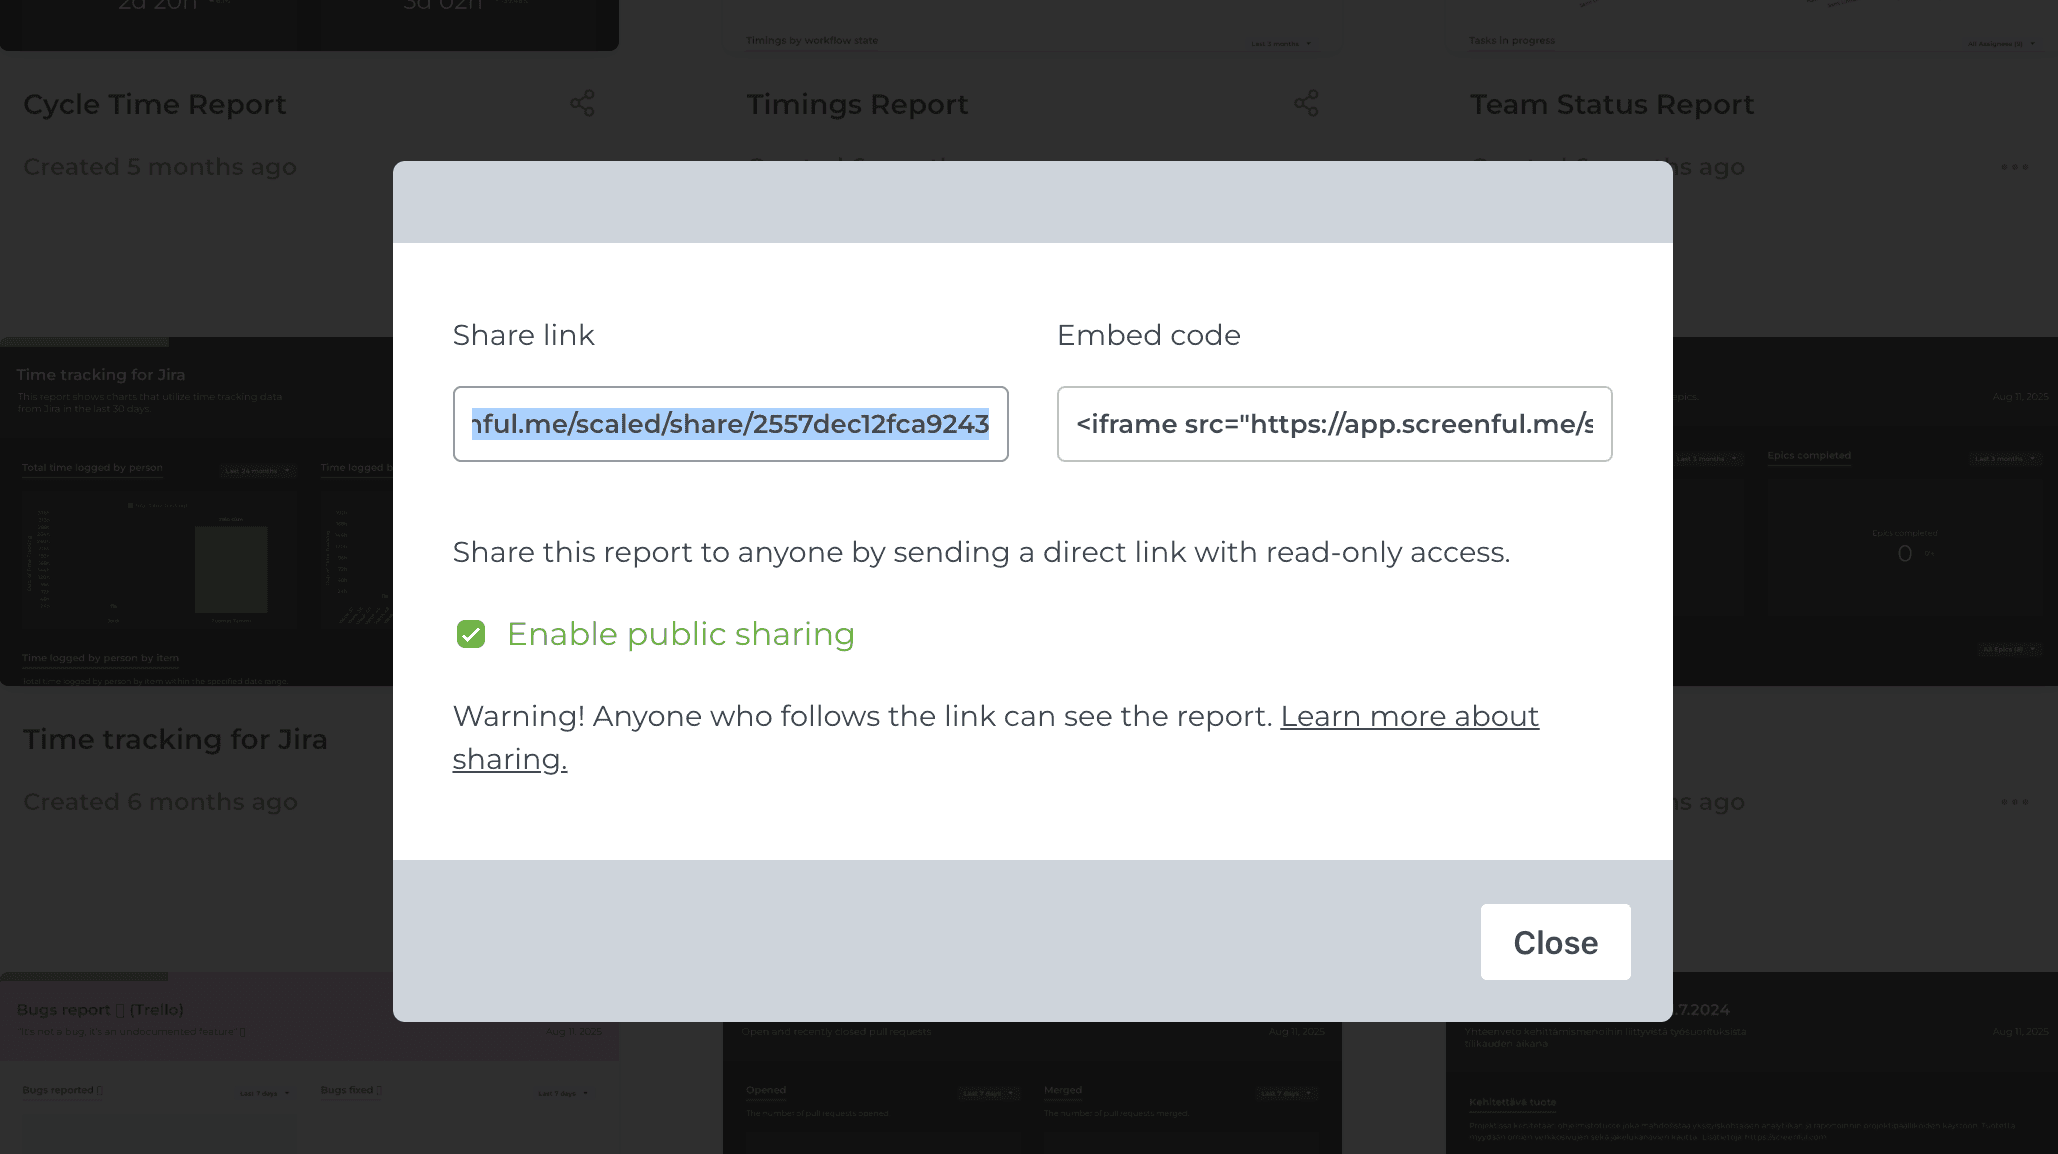
If you check the Enable public sharing checkbox, the link is made public so that anyone can follow the link and see the report in read-only mode.
While the link has a random character sequence so that it’s not possible to guess the link, anyone with the link can access the chart. Share the link only with people who you would like to see the data.
You can disable the link anytime by unchecking the Enable public sharing checkbox. If you disable a share link, it will be disabled permanently. If you enable sharing again, a new share link is generated, and the previously shared link remains disabled.